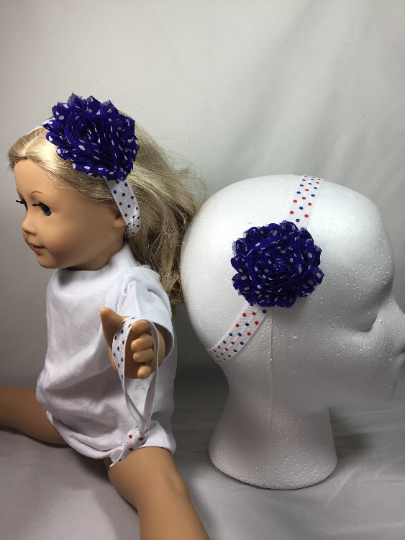
Making headbands for your American Girl doll can be a fun and creative craft project. Here's a simple way to make a basic headband:
Materials needed:
- Fold over elastic or skinny elastic
- Scissors
- Glue or needle and thread
- Decorative items (optional), such as beads, sequins, bows or flowers
Steps:
-
Measure the Elastic Cord or Ribbon:
- Wrap the elastic cord or ribbon around your American Girl doll's head to measure the desired length for the headband. 10 inches is usually a good length
- Cut the cord or ribbon to the measured length, adding an extra inch for overlap.
-
Decorate the Fold Over Elastic (Optional):
- If you want to add decorative elements, now is the time to do so. You can glue on beads, sequins, or small fabric flowers to enhance the headband's appearance.
-
Secure the Overlapping Ends:
- If you're using elastic cord, overlap the ends by about an inch and secure them with glue or by stitching them together.
- If you're using ribbon, you can tie a knot to secure the ends or use glue.
-
Let it Dry:
- Allow the glue to dry completely before putting the headband on your American Girl doll.
Feel free to experiment with different materials, colors, and embellishments to create a variety of headbands for your American Girl doll. This basic method can be customized to suit your preferences and the style you want for your doll's accessories.